
Crack repair is essential before sealcoating to guarantee durability and avoid costly future repairs. Start by identifying crack types and severity, then gather the right tools and quality fillers. Clean the cracks thoroughly to remove debris and moisture, assuring proper adhesion. Apply the filler, inspect your work for consistency, and allow adequate curing time. Finally, prepare for sealcoating by checking weather conditions and having your tools ready. There’s more to perfect your asphalt maintenance ahead!
Key Takeaways
- Inspect and assess crack severity to determine appropriate repair methods and materials needed for effective sealing.
- Clean cracks thoroughly by removing debris and dust to enhance filler adhesion for a lasting repair.
- Use quality crack filler suited for your climate, applying it evenly with a caulking gun for precision.
- Allow 24 to 48 hours for the crack filler to cure before proceeding with sealcoating.
- Conduct regular maintenance checks to identify and address new cracks promptly, ensuring long-lasting pavement integrity.
Why Crack Repair Is Essential Before Sealcoating
When you consider sealcoating your pavement, remember that crack repair is essential for achieving lasting results. Without addressing existing cracks, the sealant won’t adhere properly, leading to premature wear and the need for costly repairs down the line.
You’ll want to implement effective crack prevention techniques before applying sealcoating. For instance, filling cracks and sealing edges can keep moisture and debris from penetrating, which helps extend the life of your pavement.
The benefits of sealcoating are significant; it enhances your pavement’s appearance, provides protection against UV rays, and prevents oxidation. However, if you skip crack repair, those benefits diminish quickly.
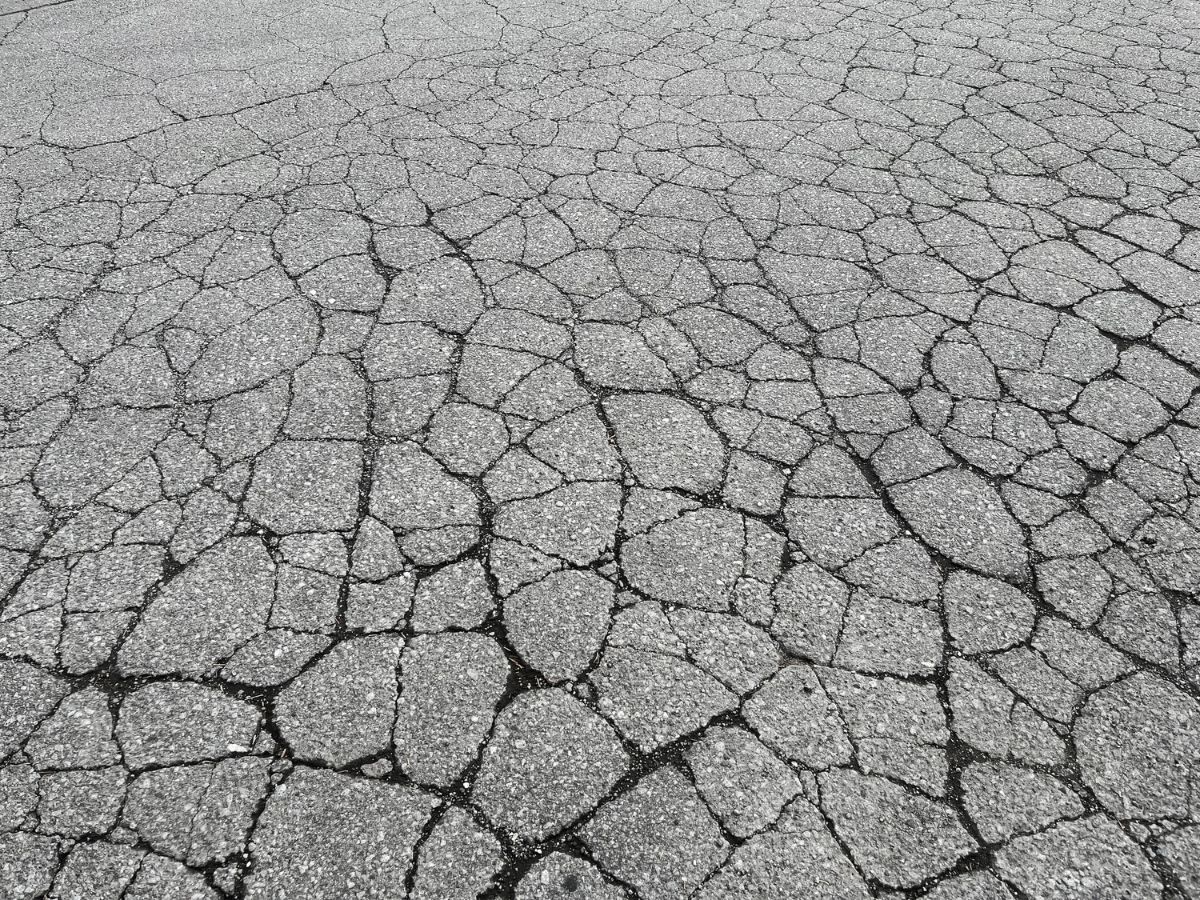
Identifying Cracks: Types and Severity
Before you can tackle crack repair, it’s important to recognize the different types and severity of cracks in your pavement. Start by observing the crack characteristics. Are they hairline fractures, wide gaps, or deep fissures? Each type indicates a different underlying issue.
Next, perform a severity assessment. Minor cracks are often less than a quarter-inch wide and can be easily sealed.
Perform a severity assessment: minor cracks under a quarter-inch can be easily sealed for effective repair.
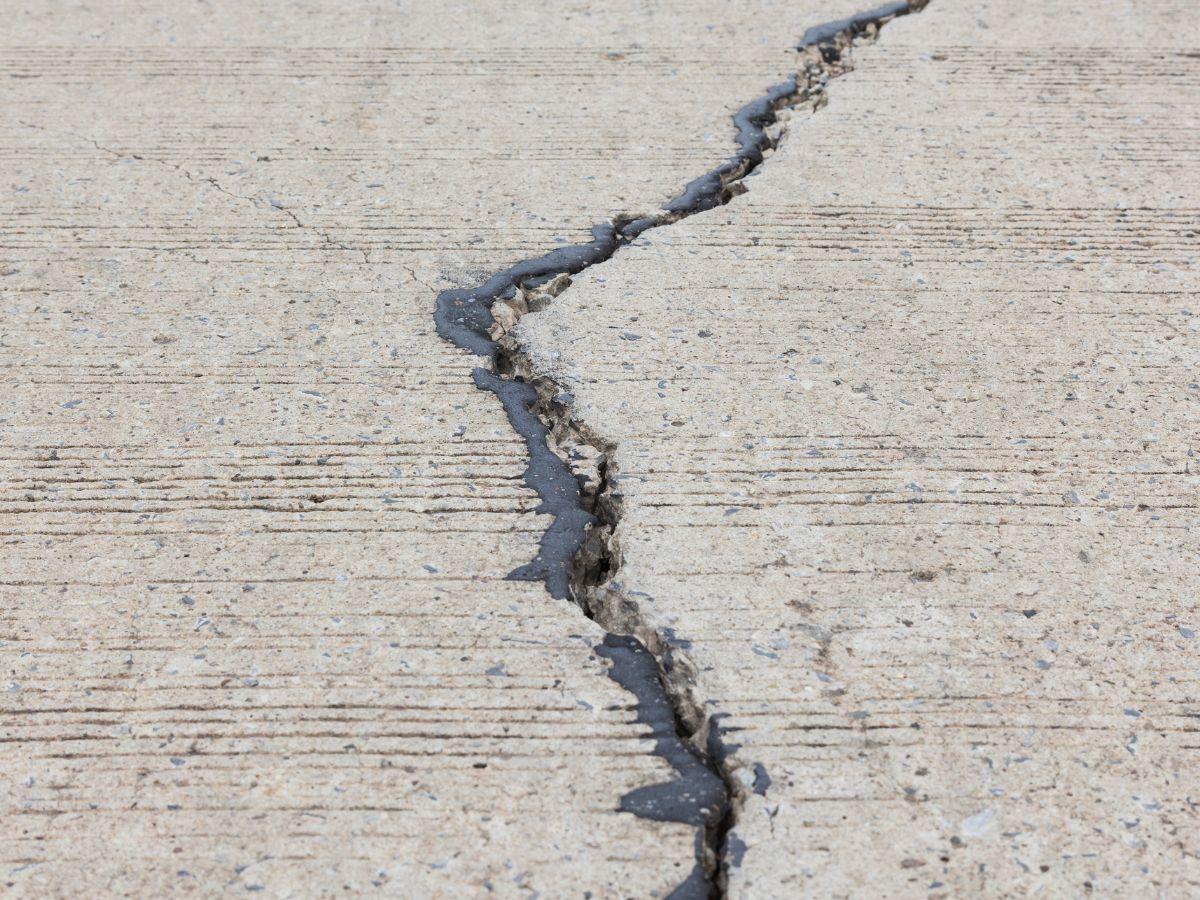
Moderate cracks range from a quarter-inch to half an inch, requiring more attention.
Severe cracks exceed half an inch and may signal significant structural problems, necessitating professional intervention.
Gather Your Tools and Materials
To effectively repair cracks in your pavement, gather the right tools and materials first.
Start with your tool selection; you’ll need a crack chisel, a wire brush, and a trowel. These will help you prepare the cracks for filling. A heat gun can be useful for softening materials if needed.
Next, focus on material sourcing. You’ll require a quality crack filler, such as asphalt or concrete sealant, depending on your pavement type. Make sure to get a product that’s suitable for the climate in your area.
Also, consider having a caulk gun handy for easier application.
Don’t forget safety gear, like gloves and goggles, to protect yourself during the repair process.
Cleaning the Crack: Removing Debris and Moisture
Cleaning the crack is essential for ensuring a successful repair. If you skip this step, debris and moisture can prevent your crack filler from adhering properly. Here’s how to effectively clean the crack:
Cleaning the crack is crucial for a successful repair, as debris and moisture can hinder adhesion.
- Remove Loose Debris: Use a wire brush or broom to clear out any loose dirt or pieces of asphalt.
- Blow Out Dust: Utilize a leaf blower or air compressor to eliminate finer dust particles that can interfere with adhesion.
- Wash with Water: If the crack has stubborn debris, spray it with water to help dislodge any remaining material. This also aids in moisture control strategies.
- Dry Thoroughly: Allow the crack to dry completely, as moisture can hinder the effectiveness of crack prevention techniques.
How to Apply Crack Filler: Options and Benefits
Applying crack filler is an essential step in maintaining your pavement’s integrity and extending its lifespan. You’ll find various crack filler types, including asphalt-based, rubberized, and epoxy fillers, each suited for different conditions. Choosing the right one depends on the crack size and the environment.
For application techniques, start by using a caulking gun for precision, especially in narrow cracks. If the cracks are wider, consider using a trowel or pourable filler for better coverage.
Make sure to follow the manufacturer’s instructions regarding temperature and drying times for ideal adhesion.
Apply the filler generously, guaranteeing it fills the crack completely. After applying, smooth it out for a clean finish, but avoid overfilling.
Allow the filler to cure fully before proceeding with sealcoating, as this will guarantee a solid foundation for your pavement’s protection. With the right filler and proper application, you’ll enhance your pavement’s durability considerably.
Smoothing and Leveling: Ensuring a Flat Surface
Once you’ve filled the cracks, smoothing and leveling the surface is key for a successful sealcoating. Proper surface preparation guarantees a uniform finish and extends the life of your sealcoat.
Here are some effective leveling techniques to take into account:
- Use a Squeegee: Spread the filler evenly across the surface, ensuring all areas are covered.
- Trowel for Precision: For deeper or stubborn spots, a trowel can help achieve a smooth surface.
- Sand the Edges: Lightly sand the edges of the filled cracks to create a seamless shift.
- Check with a Level: Regularly use a level to confirm that the surface is flat, making adjustments as necessary.
Inspecting Your Work: Ensuring Quality Repairs
After completing your crack repairs, it’s essential to inspect your work for quality.
Use visual assessment techniques to check for any missed spots or uneven surfaces.
Additionally, measuring the repair integrity will help guarantee that your efforts will stand the test of time.
Visual Assessment Techniques
How can you guarantee that your crack repairs are up to standard before sealcoating? Performing a thorough visual inspection is key for effective crack detection.
Follow these steps to confirm quality:
- Check for Consistency: Look for evenness in the repair material across the crack.
- Inspect for Gaps: Verify there are no visible gaps between the repair and surrounding pavement.
- Examine Surface Texture: The repaired area should blend smoothly with the existing surface, avoiding rough patches.
- Look for Discoloration: Any unusual color variations can indicate improper curing or material issues.
Measuring Repair Integrity
To guarantee your crack repairs stand strong, measuring their integrity is essential. Start by checking the repaired area for any visible gaps or inconsistencies. Use a straightedge or level to verify the surface is even and smooth. This integrity assessment helps confirm that your repair techniques were effective.
Next, apply a slight pressure to the repaired crack; it shouldn’t flex or show signs of yielding. If you notice any movement, consider reinforcing the repair or applying additional material.
Finally, document your findings to track the durability of your repairs over time. By measuring the integrity of your work, you confirm that your efforts lead to lasting results, setting the stage for successful sealcoating.
Curing Time: How Long to Wait Before Sealcoating?
When you’ve completed crack repairs, knowing the right curing time is crucial before you sealcoat. The curing duration can vary based on several environmental factors. To guarantee ideal results, consider the following:
- Temperature: Ideal conditions are between 50°F and 85°F. Cooler temperatures can extend curing time.
- Humidity: High humidity can slow down the curing process, while low humidity can speed it up.
- Wind: A breezy day can reduce curing time, but strong winds might cause uneven curing.
- Type of Repair Material: Different sealants have varying curing times; always refer to the manufacturer’s guidelines.
Taking these factors into account will help you determine how long to wait.
Considering these factors is essential for determining the optimal curing time before sealcoating.
Generally, a curing duration of 24 to 48 hours is a safe bet, but always check specific conditions to guarantee the best outcome before moving on to sealcoating.
Get Ready for Sealcoating: Last-Minute Tips
As you prepare for sealcoating, it’s vital to verify everything is in order to achieve a smooth, durable finish. Start by inspecting your asphalt surface for any remaining cracks. Confirm you’ve filled and sealed them properly, as this is essential for crack prevention.
If you spot any debris, clean it thoroughly to promote better adhesion of the sealcoat.
Next, check the weather forecast. Aim for a dry, warm day; temperature and humidity can affect sealcoat longevity. Avoid sealcoating if rain is expected within 24 hours.
Also, make certain to have the right tools ready—this includes a squeegee or spray applicator and safety gear.
Finally, consider the traffic patterns after sealcoating; plan to restrict access for at least 24-48 hours to guarantee the best results. By taking these last-minute steps, you’ll set the stage for a successful sealcoating project.
Maintaining Your Asphalt: Future Care Recommendations
To keep your asphalt in top shape, regular inspections and maintenance are essential.
You should address any cracks or damage promptly to prevent bigger issues down the line.
Plus, using effective sealcoating practices will extend the life of your surface and maintain its appearance.
Regular Inspections And Maintenance
- Inspect Regularly: Check for cracks, potholes, and surface wear every few months.
- Clean Debris: Remove leaves, dirt, and trash to prevent moisture buildup.
- Seal Coating: Apply sealant every 1-3 years to protect against UV rays and weather.
- Monitor Drainage: Verify water drains properly to avoid pooling, which can damage your asphalt.
Timely Repairs And Solutions
Regular inspections and maintenance are important, but addressing issues promptly can make a significant difference in the longevity of your asphalt.
When you spot cracks or potholes, don’t wait; timely interventions can prevent more serious damage down the line. Proactive maintenance not only keeps your surface looking good but also saves you money in the long run.
Consider filling cracks as soon as they appear, and keep an eye out for any areas that may need attention. By staying ahead of potential problems, you’re ensuring a safer driving experience and extending the life of your asphalt.
Effective Sealcoating Practices
While sealcoating is essential for protecting your asphalt, knowing how to do it effectively makes all the difference.
To maximize the sealcoating benefits, follow these application techniques:
- Choose the Right Day: Confirm temperatures are above 50°F and avoid rain for at least 24 hours after application.
- Clean the Surface: Remove debris, dirt, and any remaining oil spots to confirm proper adhesion.
- Apply Evenly: Use a squeegee or spray for an even coat; avoid puddling to enhance durability.
- Allow Proper Drying Time: Keep traffic off the surface for at least 24-48 hours to let the sealant cure properly.
Frequently Asked Questions
Can I Sealcoat Over Fresh Crack Filler?
No, you shouldn’t sealcoat over fresh crack filler. Wait at least 24 to 48 hours after the crack filler application to guarantee it cures properly. Timing’s essential for effective sealcoating and lasting results.
How Long Do I Need to Wait Between Repairs?
You should wait at least 24 to 48 hours between repairs to guarantee proper filler drying. This repair timing helps achieve a solid bond, preventing further issues when you apply sealcoat later.
What Weather Conditions Are Ideal for Crack Repair?
For crack repair, aim for ideal temperatures between 50°F and 85°F with low humidity levels. This guarantees the materials adhere properly and cure effectively, giving you the best results for your repair project.
Is DIY Crack Repair Cost-Effective Compared to Hiring a Professional?
DIY crack repair can be cost-effective, but consider a cost analysis and tool comparison. If you have the right tools and skills, you’ll save money; otherwise, hiring a pro might be the smarter choice.
How Can I Prevent Future Cracks in My Asphalt?
To prevent future cracks in your asphalt, perform regular preventative maintenance like sealing and patching. This enhances asphalt longevity, keeping it resilient against weather and traffic, so you avoid costly repairs down the line.
Final Thoughts
At Parkway Paving LLC, we know that taking the time to repair cracks properly before sealcoating is one of the best ways to protect your asphalt and extend its lifespan. A thorough repair process helps create a stronger surface, improves the results of asphalt sealcoating, and reduces the risk of more costly damage in the future.
Whether you need help with crack repair, ongoing maintenance, or a full pavement upgrade, our team is here to deliver reliable solutions for residential asphalt paving, commercial asphalt paving, and asphalt resurfacing. If you are ready to protect your pavement and get long-lasting results, contact Parkway Paving LLC today to schedule your service and let us help you keep your asphalt in top condition.